Visualizzazione post con etichetta victorian fashion. Mostra tutti i post

mercoledì 30 settembre 2020

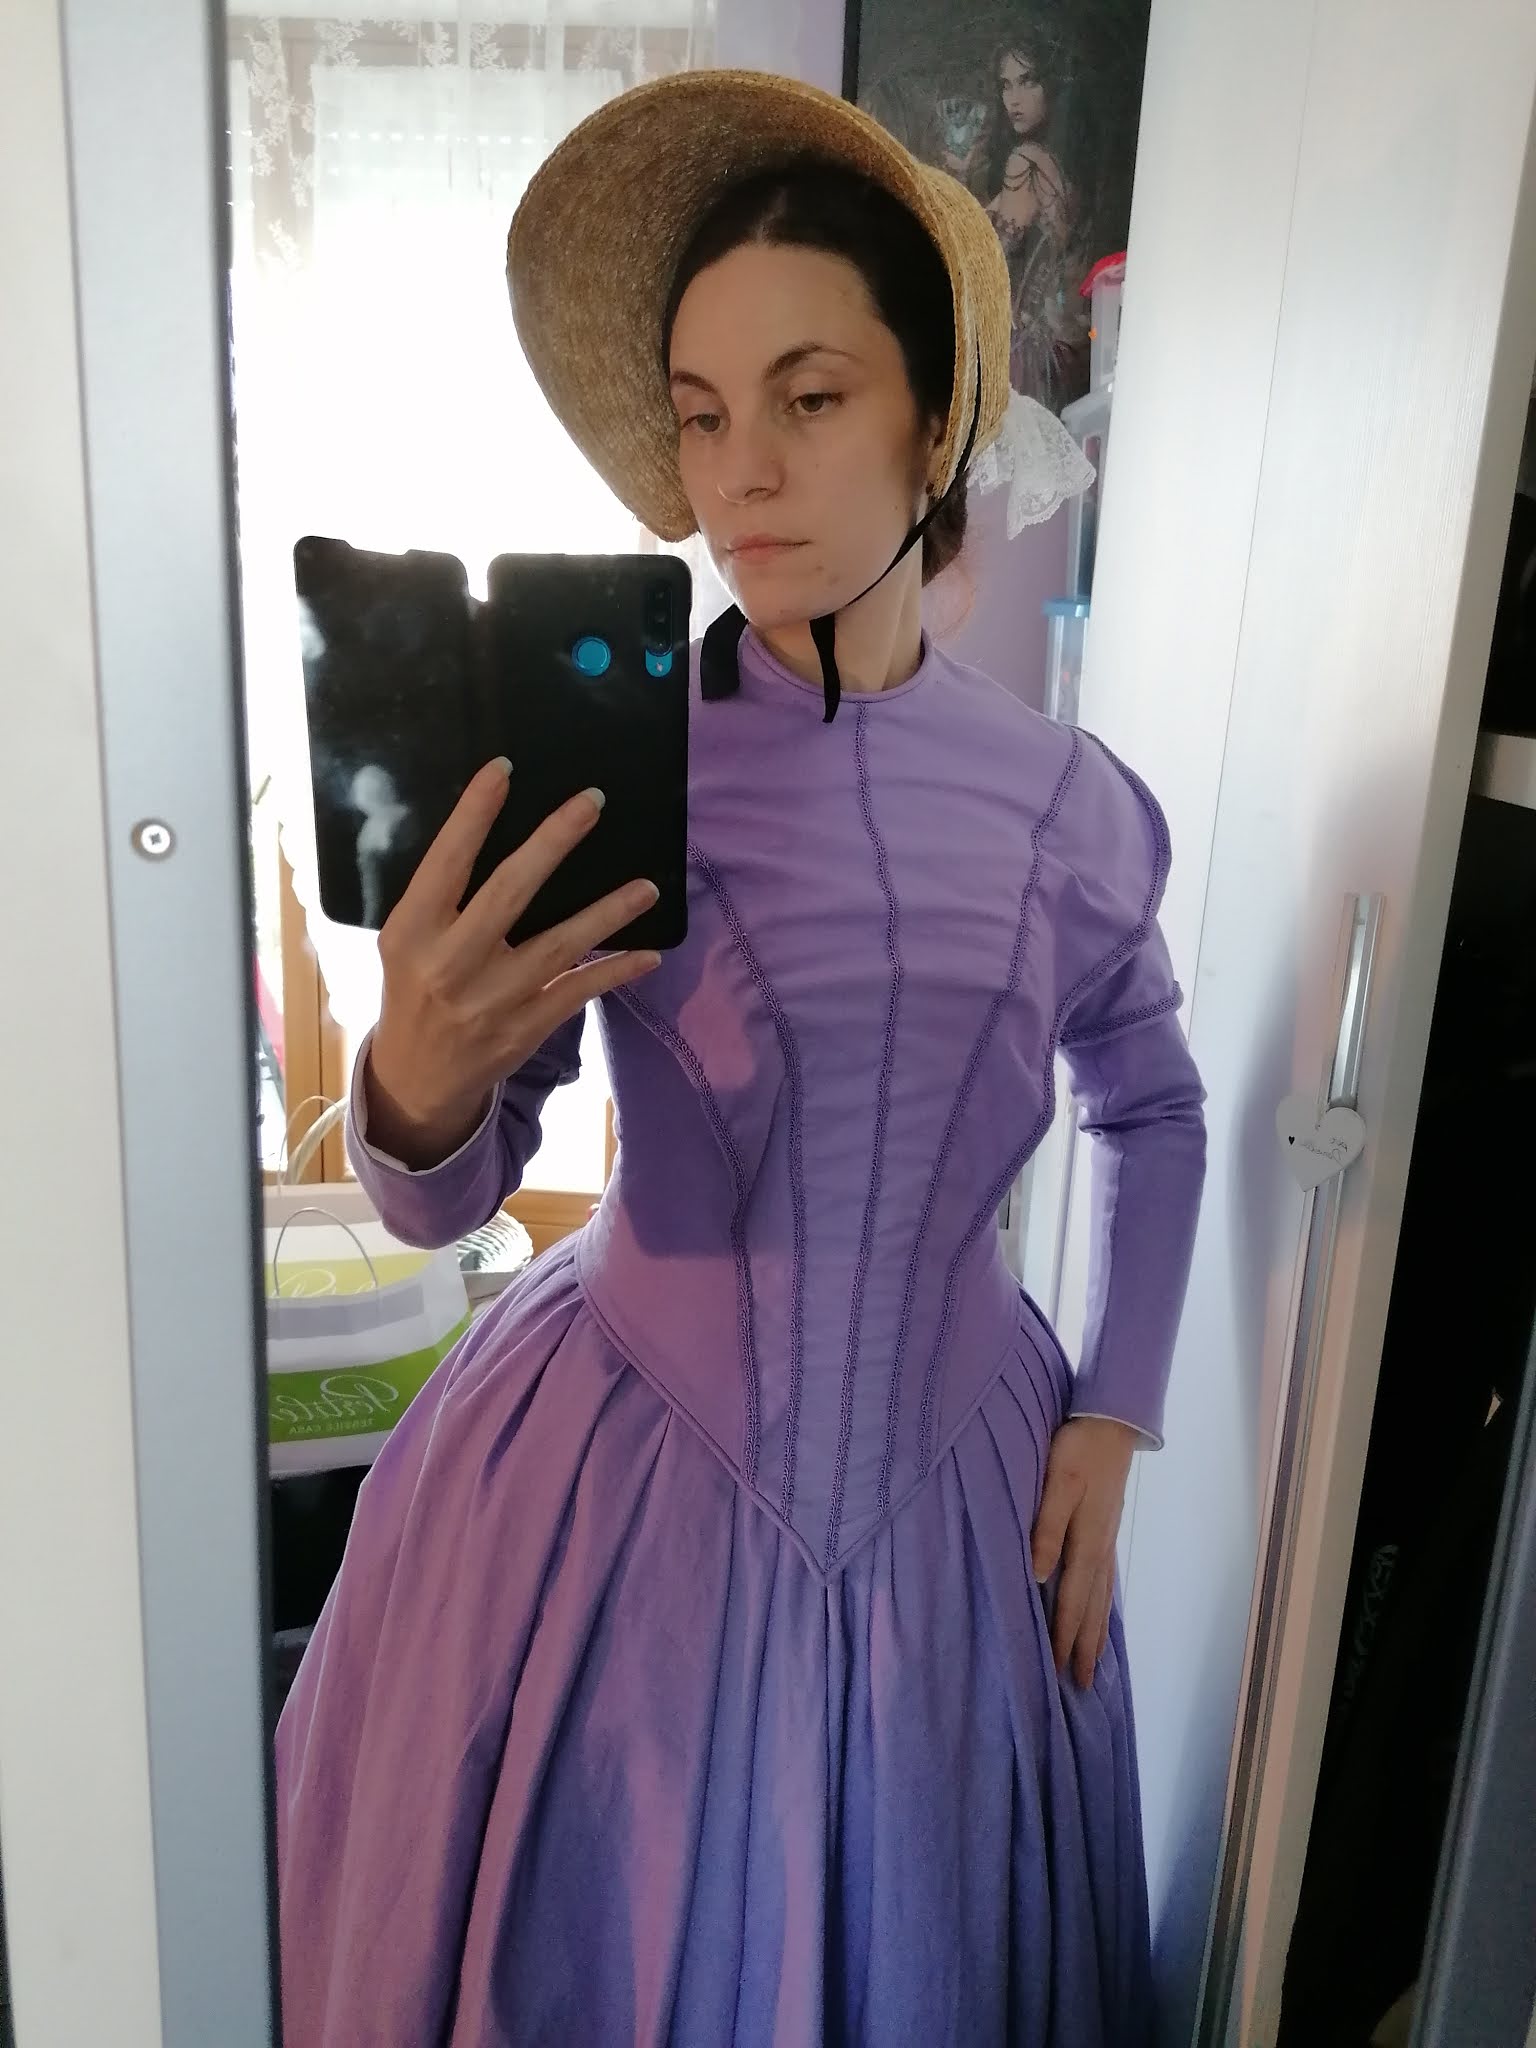
1840s lilac dress

 Let's update this blog a little! Summer has passed (finally!) and this year I have been able to finish a couple of projects due to human temperatures until August... The projects are not in chronological order, I'm going to write about as long as I remember them.

First, a new 1840s dress. I had this lovely lilac cotton in stash for approx 2 years and decided to use it after a looooong wait. I already have a 1840s dress made in 2019 with a fan front but I wanted something different. I used my trusted TV German Day Dress pattern as base for the bodice, while sleeves and skirt are self drafted. I started this project at the beginning of September because I remembered the first version didn't take so long but I was wrong: the bodice took a lot. Almost 2 weeks. 1840s dresses may sound easy but they are not! The sleeves are fitted and have to be well drafted, same as for the elongated waistline in the bodice. Fittings took a while. I had no problems with the longer waistline (the facing piping took away 2,5 cm in lower edge and neckline so it shortened a lot!) but the fit of the bodice was a pain. 


I have a weird body with a very small neck but wider shoulders and a "medium" waist, which forces me to make a mix and match of my pattern pieces. My dressform has a huge neck so I can't drape my own patterns over it and this is a problem with back fastening gowns like these. I did all my best to achieve a good fit but the neck is still gaping and the hooks get unhooked. So boring. On the other hand, the bodice was so well fitted along the waistline there's not so much overlap for the hooks. I'm pretty sure these ladies had someone helping them when making their dresses because it's impossible to get a good fit without another pair of eyes... Front closure next time. No way. Or buttons. Buttons are lovely! 


Despite these issues, the bodice came together quite well. I just take in some extra cm in the neck and bust area. The bodice is flat lined in cotton, serged, boned in all seams and then trimmed with this lovely lilac braid I purchased online. I wanted to use only stash materials so I used what I had on hand, including this bold cotton cord for piping. 


The skirt was a breeze if compared with the bodice. Two rectangles pleated to the waistband with a faced hem and the same braid to cover the stitches. So easy and relaxing! 


I completed the look with a straw spoon bonnet from Nehelenia Patterns, trimmed with vintage decorations and cotton sateen ties again from stash. The dress is worn over chemise, corset, corded and tucked petticoat. I only realized my corset provokes a bad wrinkle at top of the bodice for unknown reasons (this was not present when making fittings...) so I will have to fix that together with the back fastening. The day of the event the weather was rainy, cold and cloudy so I had to wear a shawl to protect me a little; the silk parasol was just for scenographic reasons... ;) 


venerdì 1 novembre 2019

A 1860s purple skirt and bolero

When it can not be made in black, it has to be purple!


Alas my antique 1850s parasol didn't come on time and had to use this one ... 


This costume has a long story. It was originally planned for last year but you know, I can hardly respect my own schedule regarding personal project. So I waited. And waited. I started a fitted bodice last spring (see photos below) but never had the chance to finish it due to lack of time and precocious heat waves; the cotton used for this project is kinda thick and it can't be in the middle of the summer without literally melting in it, including all the undergarments and the false sleeves. 


But when we decided to reenact 1860s in Marlia last September I immediately realized I had to work on this piece again. I needed something lightweight but also easy and quick to make. The challenge was not impossible at all but the deadline was approaching fast. I mean, the skirt was already cut and serged, the facing was already prepared, the trim was already in stock and I had an almost brand new Garibaldi blouse in my wardrobe used just for a couple of shots. So why not making a new, matching bolero?

I already made a 1860s bolero with pagoda sleeves earlier this winter but in bright red, definitely not the best combo for a purple skirt. I had some leftovers in stash of purple cotton, enough to make a sleeveless bolero (remember what I said before about heat waves? Well, we had another one in mid September, just some days before leaving for Tuscany...). I decided to use only materials from stash to save money and time (there was no time at all to order materials online and wait for them to be delivered...) and went for a vintage trim to decorate the jacket, the same I used for the red one. Not the best choice but at least it worked. I went for a geometric design, the best I could achieve with that kind of trim. Something tells me it will be remade very soon after the event... 


The bolero came together really fast, just in a day or 2. It is lined in cotton and with piping around neckline and lower edges of sleeves. It's worn over a Garibaldi blouse and a black cotton swiss waist. The skirt was also made quickly. Most of the time was spent pleating and attaching the waistband. I made this skirt to have a typical 1860s look with fewer pleats at front and much volume at the back; I do not have an elliptical crinoline so it has the same width and length all around. It has pleats facing at upper edge, hem facing at bottom and a side closure. 


The hat is a simple wool brimless hat with a silk muslin veil on top. Gloves and brooch are antique pieces while the earrings are by dear The Lady Detalle on Etsy. 

The weather during the day became too hot to wear the bolero so ta-dah! It was time to take it off and show the world my swiss waist! 


The Swiss Waist was fashionable accessory worn by women to enhance the small waist and add interest to very simple garments like blouse and skirt. Mine was made after a pattern in  "The Victorian Dressmaker book" by Prior Attire. I used some black cottons from stash, some crochet trim and eyelets at the back. It truly makes the difference and I felt really stylish.   

But look at the amazing pics I got with it! 


And that's all for now! Of course I will try to finish the fitted bodice before next heat waves... maybe for Christmas? :) 

A corded petticoat (1830s/1850s)

What is exactly a corded petticoat?
I'm sure you already came across this therm in your costuming journey. Before the invention of the cage crinoline, the fashionable bell shape was achieved wearing multiple layers of petticoats. With  multiple, I mean a lot. Of course all these layers needed a foundation garment to support the weight: the corded petticoat.


Some extant examples...

An original petticoat from MET museum


Los Angeles County Museum of Art

Corded petticoat from 1850s 


Made of several rows of cording, the petticoat helped to support the weight of all those skirts needed to achieve the desired silhouette. The position, dimension, layout of the cording could vary, as well the length of the petticoat itself. There are examples of shorter petticoats, and some were corded only at the bottom. There are two ways to make a corded petticoat.

Method 1: two layers of fabric (cotton or linen) and the cording sandwiched in between (you can use a zipper foot on your machine or a regular one, as I did)

Method 2: corded tucks, the way I chose, keeping in mine that every tuck will make your petticoat shorter so a little bit of math will be involved. Tucks will also add weight to the petticoat.

After this, you can pleat of gather the upper part of the petti before adding the waistband.

My CP in the making... of course over a non Victorian dress. 

Corded petticoats may sound intimidating but they're not. They require time, yes, but I find them lovely to make. They're not something you can do a day before your event. Plan ahead. Plus they also need to be starched but I will talk about this step later.

After the corded petticoat, the standard petticoat comes next. Lot of variations here: plain, tucked, with ruffles or frills, in linen, cotton or silk. I chose to make one in cotton lawn from stash, using several tucks to add weight and reduce waste. My fabric was very long (140 cm) and since I already knew I would have never used the leftovers, I decided to use the full length using tucks. I ended with a petticoat of 93 cm approx without losing a cm and zero waste. So historical accurate after all!
After finishing the petticoat, I gathered the upper edge and added a waistband.

Of course Tiffany had to join. 


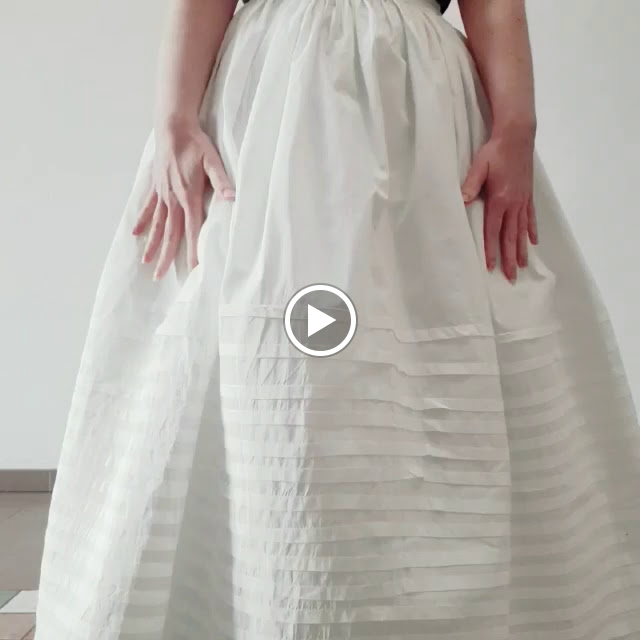
Now the fun part: starching! Starching is an essential step when making Romantic and Early Victorian era undergarments. Starch gives strength and helps to keep the garment itself clean, asking for less frequent washing. Also here there are several ways to make or use starch:

Premade starch: chemical, but will save you some time
Homemade starch: natural, made of rice, corn, potatoes.


The starched standard petticoat. 


In every case you need to boil your water and soak your undergarments in a bowl, letting them to dry outside. Once damp or fully dried, iron it and see the magic happen: the starch will give a "paper effect" to your petticoats, which will make an incredibly lovely sound when moving! Check the videos below:


domenica 24 marzo 2019

White Garibaldi blouse and skirt

This dress is part of a partial restyling. You know I love to restyle my old costumes when and if possible because, due to wrong cuts, trims or lack of replacement regarding fabrics, this cannot always happen. Restyling is  not only economical (we all have to deal with budget) but it also allows me to see how much I improved in the years. And trust me, this is the most rewarding aspect of all the work.

I made this white, big skirt back in 2015. You can find the related post clicking here. The skirt was made in an accurate way with hem facing, pleats facing, side closure and so on but it was badly made. The pleats were not pressed and so the side seams, the skirt was too long and touched the floor making walking really difficult and the rectangles of fabric that form the skirt were not well aligned. A nightmare. I also lose lot of weight since I made this skirt so also the waistband needed to be changed. And so I did. I basically remade this skirt entirely, cutting again the rectangles, serging again the seams, pressing them, serging pleats facing (before it was left raw) and shortening the hem. It didn't turn out as new but at least it works now. I also added a lovely geometric trim that was waiting in my stash from ages above the hem to hide facing stitching.


Alas I couldn't fix the bodice. I used Simplicity 1818 for this and in my opinion there are huge mistakes in the design. I made this bodice twice thinking the issues were due to my lack in Victorian sewing but I was wrong; the front of the bodice is pretty accurate with darts, boning, dropped shoulders and pagoda sleeves BUT the back runs really long causing wrinkles and a very ugly loose fitting. 
I had to wear this restyled costume for a filming on January 11th 2019 and I realized just a couple of days before the shooting I didn't have time to make a properly fitting bodice. Panic. I didn't want and couldn't wear that wrinkled bodice for the movie so I run to my to my sewing books trying to find a solution. Then I remembered I had also made a loose fitting blouse after a Butterick pattern always in 2015 which really looked like a Garibaldi blouse. A Garibaldi blouse! A quick and easy project I could make in a day or two! 
I used a pattern in the Kristina Harris book (really recommended, you can find it on Amazon) and I was ready to go in a while. I used white cotton with fabric covered buttons from stash, that's why they are a little bit too large. I omitted the piping and trims due to lack of time. 

What is a Garibaldi blouse? A Garibaldi blouse was a loose fitting, comfortable, breathable garment worn by women in early 1860s as tribute to Italian patriot Giuseppe Garibaldi. Originally made in red wool, they came up in a bunch of colours including black and white. They could be tucked into the skirt (like mine) or attached to a inner waistband to be more fitted. That's all. 


Gosh, I'm really broad in shoulders.


And so it was! I added to a black belt to emphasize the waist and add a little bit of contrast. The outfit looked perfectly on screen and on camera as you can see :) I originally planned to sell this white skirt since I want to make at least other two 1860s dresses but for now I will probably keep it. It looks so much better now and it's really delicate and feminine. 

The whole outfit can be ordered on my Etsy shop in a customized version.


Post in evidenza

Edwardian skirt and blouse, circa 1900-1905

I've always been fascinated by the style of early Edwardian era, with those lightweight blouses, fabrics, delicate laces and floating s...