If you had the chance to read my entries for a while, you should have noticed I'm an ancient Roman reenactor and fanatic. I studied Roman History at University and since then I'm totally crazy about that. As reenactor I need to have accurate outfits to be worn during events and as seamstress I love to take care of the details.
Sewing an ancient Roman dress is not difficult but requires a little bit of historical research. I wrote about Roman fashion in the past and I don't wanna repeat myself, so I hope you'll enjoy this short summary. The basic garments of an ancient Roman woman were three layers, a tunic, a stola (if married) and a palla, an outer garment which was worn in public by respectable women and could be carried on the head as veil. The tunic, as you can imagine, was the foundation of their wardrobe.
Building a Roman tunic is not hard, there are several images and tutorials on the web but be careful, most of them talk about the ancient Greek fashion, which is similar but not the same thing. Forget the lascivious costumes worn in movies and fictions, Roman women were more modest you can think!
So, for the last event in Acqui Terme I needed a new and more historically accurate outfit, which included a palla and a veil. I was out of budget so I couldn't sew a stola, but it's ok if you wanna portrait a young and unmarried woman (smart solution!). I wore the outfit again last week for a nice shooting with the guys of Light&ART studio.
Before talking about the construction, let's see some references:


The most accurate form of tunic is a wide, long, rectangle of cloth which is sewn at sides and open above, to let your head and arms get out. It looks simple, uh? The tunic was draped around the body with a long belt, which was tied under the bust before and around the waist later, giving the dress the classical puffy shape. Ancient roman fashion didn't have supporting garments as corsets so the belt under the bust is a help to keep everything in place. To obtain this famous shape you need a long tunic, almost the double of your height from shoulders to feet.
So, after determining the height of your tunic all you have to do is sew at sides, from selvage to selvage. Here there's a scheme for the ionic chiton, but the process is the same:

You should have at this point something like this:

Once you're done you have to wear the tunic and mark your fastenings with the help of a friend. An accurate solution would be pins to close your sleeves but I went for some decorative buttons. My tunic has been dyed in light blue but you can choose other colours. Don't leave it white! When your tunic is fastened you can proceed with the belt (a piece of cord or a braid would be perfect). The palla was the equivalent of male toga, so sew a continuous piece of fabric of oval shape; my palla is in red linen and matches my hair band.
To give you an idea of the finished outfit, look at the following photos or read my previous entry about Acqui & Sapori (there are other photos of the costume in action). For my tunic I sewn all hems by hand, this decision it's up to you.
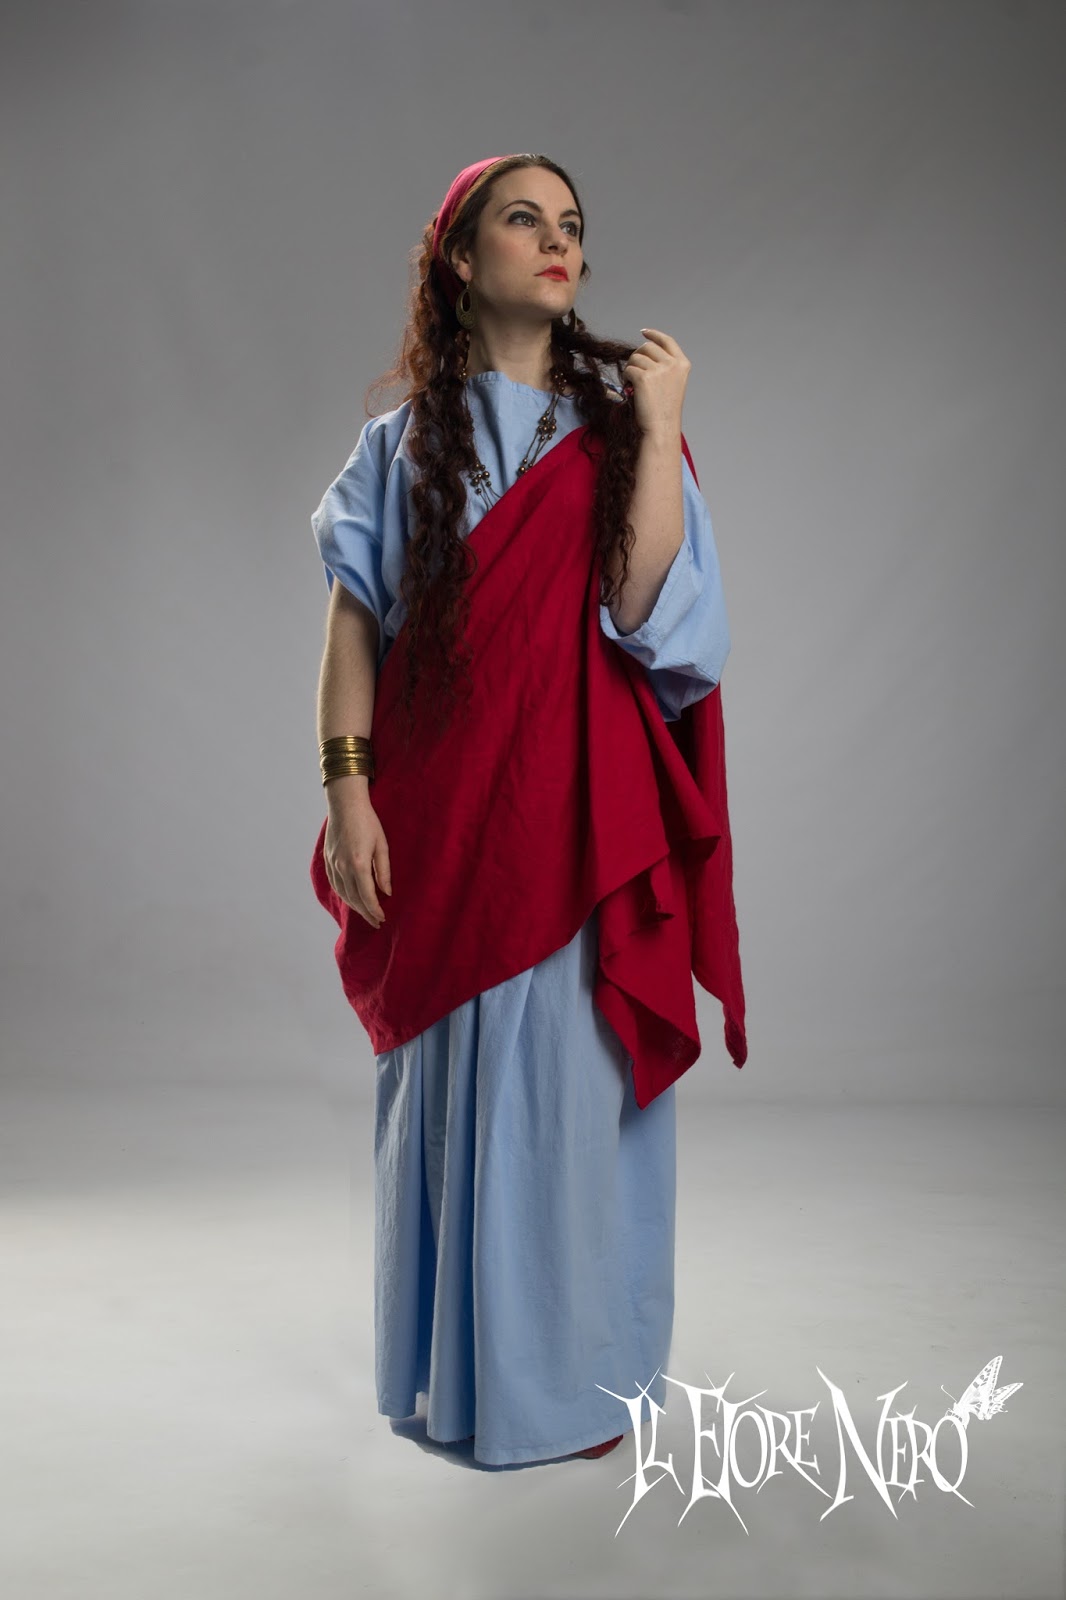


The veil is a small rectangle of fabric handsewn to a hair comb. Even in this case, I sewn all hems by hand. The hairstyle will help you to keep the veil up so it's important to choose a lightweight fabric. For the hairstyle you can use bobby pins or - more accurate - wooden forks. A tip for your hair: curls, curls and more curls! Use extensions if your natural hair are not long enough, Roman women did the same with real human hair or wigs.
 |
| Photo by Raffaele Boni Photographer |


Nice work.
RispondiEliminaGreat work.
RispondiEliminaNice Post
RispondiElimina