Visualizzazione post con etichetta rievocazione storica. Mostra tutti i post

lunedì 11 dicembre 2017

Making a 1890s black outfit, part 1

Hi everyone! The holiday season has started and so this means I have some spare time to work on my personal projects. This time I'd like to introduce my 1890s black outfit. I'm new to late Victorian costuming (oh well, let's say I explored very few of it) and let's say I'm not a fan of those huge sleeves. After looking at some extant examples I saw huge sleeves last

ed for a very short time and not every 1890s bodice had leg-o'-mutton sleeves so I decided to give this era a try. I found some beautiful examples of black dresses not stricky mourning and went ahead with that idea.


Both there dresses are beautiful and I love Cléo de Mérode hairstyle!

So, after checking the web for resources I decided my dress would have been in black cotton sateen with very minimal embellishments. 

Before starting to work on the skirt I worked on the undergarments. I took and old Edwardian petticoat from my closet and restyled it, sergin' again seams and adding a lovely ruffle at the bottom to help the skirt in keeping its shape at the bottom. Luckily I already had corset and chemise (no combinations yet alas!) so this part came together really quickly. 


Then I started to work on the skirt. I drafted a pattern by my own looking at some period layouts. It's really simple, trust me. All you have to do is to measure yourself carefully at waist, centre front and back if you want a train. Divide your waist measurements by 7 (the number of gores, since the front is cut on fold) and draft your pattern; the back and side back have to be more generous in size to end up with the pleats. 
Gored skirts ended in with very large pleats at the back to create the "fan" look and that's what I did. The front is straight all around my hips. My skirt is high waisted to use the waistband as belt. I have very large hips and  I have to say this skirt is incredibly comfortable, smoothing my curves and making my belly look really flat. AH! 


I wanted my skirt to be light, to be worn in summertime as well so it's not lined or flat lined. The hem is reinforced with some black bias tape 25 mm wide faced inwards. 
The back of the skirt closes with hook&eyes and two pair of snaps (they're HA, did you know? They were invented in the 1880s!) mounted over the placket. Unfortunately my waistband ended to be too large so it overlaps too much but it can be easily fixed in a second moment. 

When I was done with the skirt I hand sewn some yards of beautiful vintage velvet trim all around the hem as decoration. It's so lovely! 


Now the fun part: bodice and sleeves! 

giovedì 21 settembre 2017

Ancient Roman conference "The fear and the fury" for Imagines Project

This is one of the posts that mysteriously disappeared from my blog. I don't know what happened in the past month but more then 4 entries have been deleted, including the one about the latest event with IX Regio, so I have now to remember what I wrote and publish it again. Ok, let's try. At last.

Before being a costumer and a reenactor, I'm mainly a history bachelor. Last year I wrote a short article with professor Filippo Carlà (University of Exeter) about the role of women in ancient reenactment. There's a long story between us. I had my first Ancient Rome exam in 2006 (gosh) with Filippo himself and after then, we kept in touch with Facebook until I switched to my new profile a couple of years ago. He contacted me again last year, asking if I wanted to write an article with him concerning the gender roles in modern reenactment. How could I say "no"? 
It took me a while to send my essay due to the work but I did, and the article came out a couple of months ago in digital format (you can read it here for free) with the title "Performing Empresses and Matronae: Ancient Roman Women in Re-enactment". I was absolutely excited when the article was published and after a couple of months Filippo contacted me again, asking if I wanted to join Imagines project for a conference in Turin about my costuming and reenacting activity. Eeeeeeeek!!


I immediately accepted so I start to work during the summer to my attendance, explaining many aspects of my work and so on. I was absolutely delighted when the guys of Imagines publish a lovely article about me on their website, introducing my participation as guest; ok, I admit: I felt  a little bit out of place among all those professors and experts.

I asked my friend Sara Miao to modelling for me during the event to show another example of Ancient Roman tunic and palla. She wore the blue while I wore the green one. The event was great, I talked about 45 minutes and the public did a lot of questions about costuming and I could also introduce my incoming Byzantine project. I also showed a making of video of my green tunic and palla. 


Then some weeks ago I got a parcel in my inbox. It was the paper version of the article! Squeeeee!
I definitely felt important. Someone asked me on Facebook if I was going to teach on Costume College in Los Angels too but - for the moment - this will remain just a dream. 


venerdì 2 giugno 2017

New Ancient Roman stola and veil in linen

It's been a while since I updated  this outfit, I admit. Things are getting really busy here, including a big new: we're moving in a bigger flat! So this means we're surrounded by boxes everywhere worse than usual (lol), displaced furniture and so on. The shop is still running though it's really hard to combine work and moving. Anyway, we decided to celebrate this moment introducing a new discount code which gives you the opportunity to get free shipping on every order above 100€!

Let's talk about the dress now. Last April we introduced the Roman world in our events since some of us already had experiences in this field. I was planning an update version of my outfit from a long time and this event was the best occasion to sew a stola and a veil.

Some costume history...
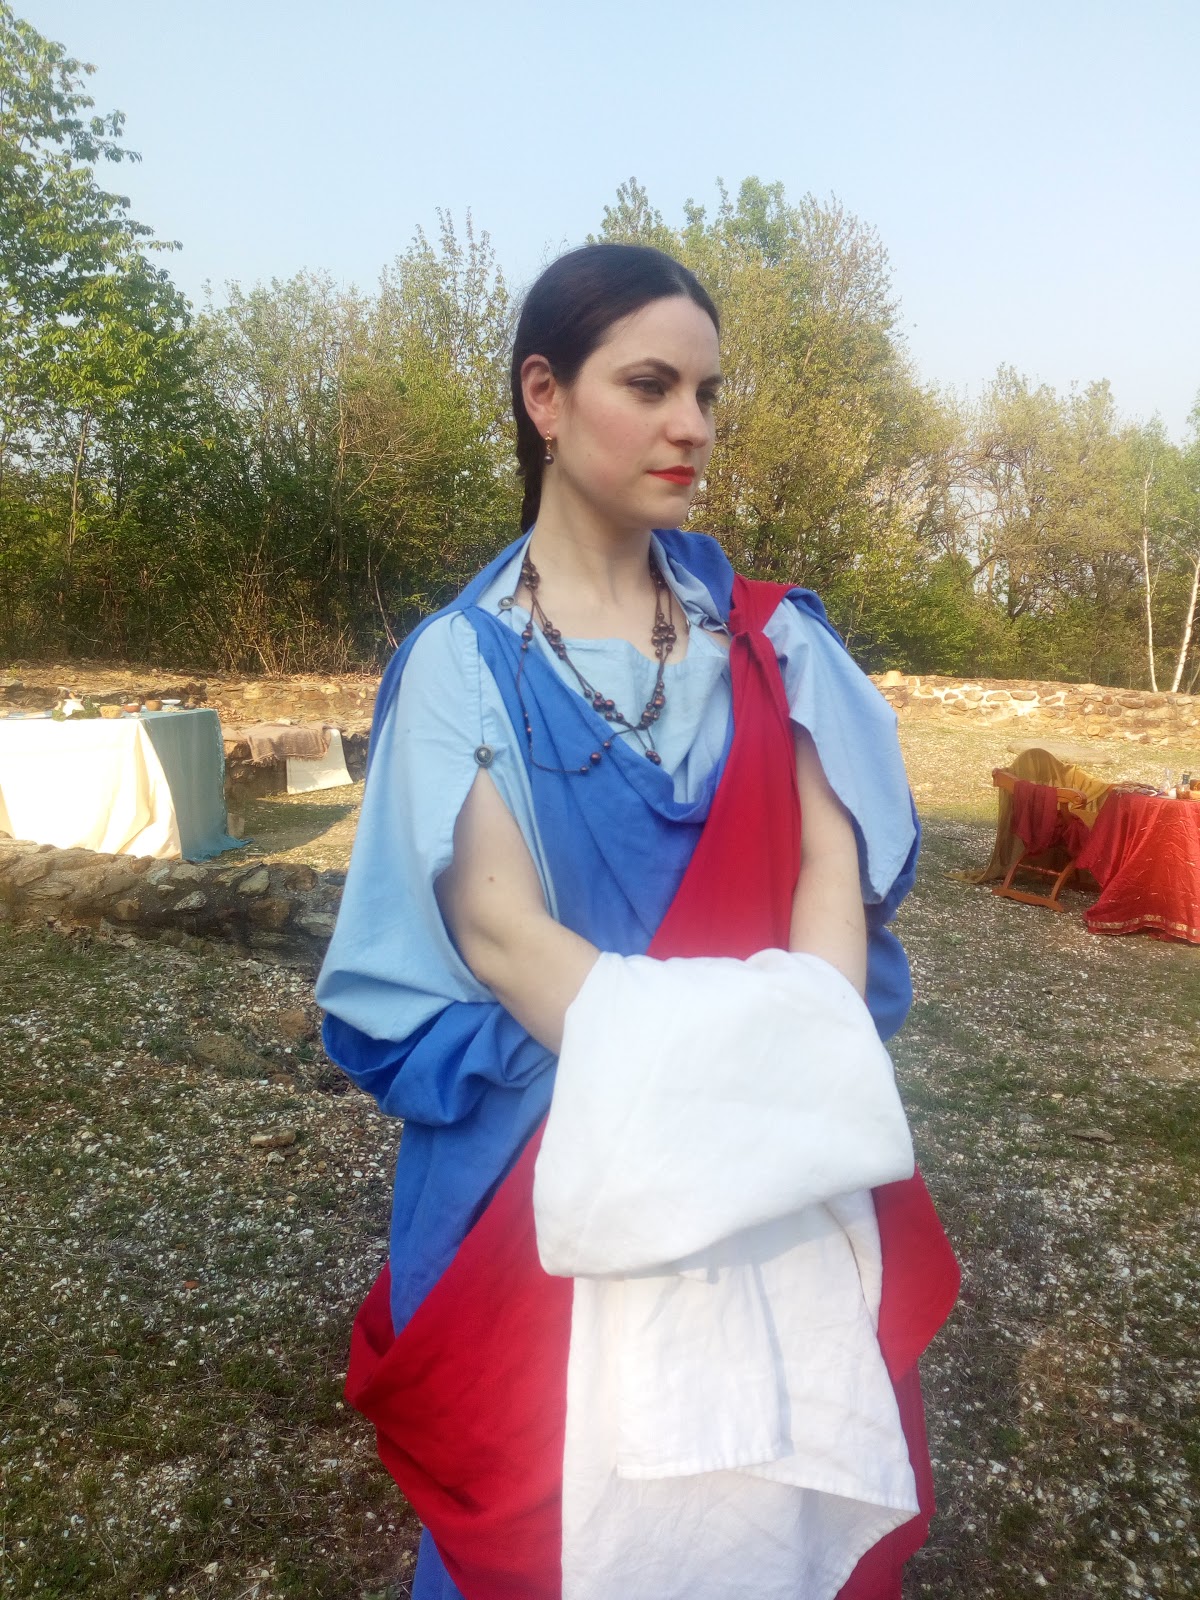
The stola was an outer layer worn by married women to indicate their status; it was usually sleeves and come from a rectangle of fabric draped on shoulders and secured with brooches or pins. The veil was worn over the head by every woman when she was outdoors (sounds
familiar, uh?) and could be replaced by the larger and longer palla.

So I just had to make a stola and a veil, nothing difficult. The stola  is made of lightweight blue linen with handsewn finishing and same for the veil, which is white. The day was very hot and sunny and I'm so happy to have worn the veil on my head.


And the stola...


The red palla and the under tunic were already part of the outfit. I'm sorry for the lack of hairstyle but I was waiting for  my turn to be brushed ;) 

And that's all for now! I didn't take more photos that day but I'll use this outfit again next September!


domenica 21 maggio 2017

An 18th century day in the gardens of Stupinigi...

Last week we are asked to set our event in the beautiful gardens of Stupinigi. The weather was warm and windy, a delight if compared to the heavy rainy days we had in the middle of the week. This was not a didactic event as we usually do, but a living history one without interaction with the public (except some photos or questions when we left the gardens). 
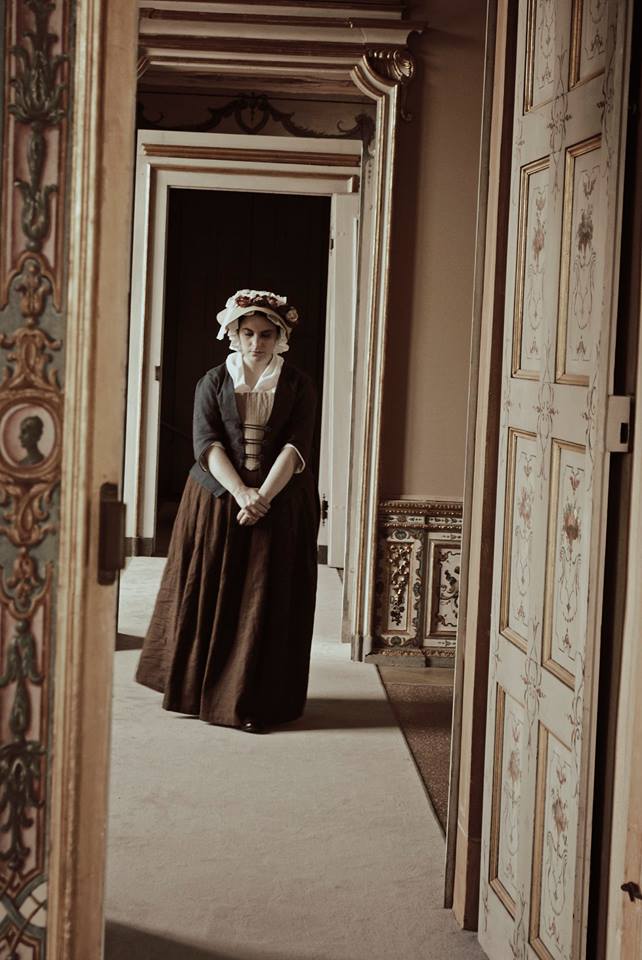
I wore again my lower class outfit which is indeed brand new, and brought with me some sewing and embroidery tools. My new housewife kit I got from Nehelenia Patterns worked great for the day! It's an essential kit filled with essential tools like period scissors, needles, pins, wooden thimble and a couple of buttons; I added my wax, thread wand and embroidery scissors and the kit was completed. 

I'm so glad I chose to wear the cap and the straw hat  in the afternoon. The sun was really strong. 


All photos by Stefania Gusatto.

The new outfit worked great outdoors (in the previous event we were indoors) and the linen helped me in stay warm but not hot. It's definitely not a summer garment because the wave of the linen of the jacket is kinda heavy but for the spring is ok thanks to the cotton lining; the skirt was worn over a cotton petticoat and a large bum pad. The whole thing is worn over chemise and my white fully boned stays I made last year from Norah Waugh "Corsets and Crinolines". I will need a new pair of stays soon since this one has become too large and the ends meet in the back. Le sigh. I worn this only once! The stomacher is then pinned in place to the corset and the fichu is tucked underneath. 

Some other photos...


And yeah, we also acted for an incoming historical documentary!


And, as usual, we took a short video with the costume on: 


Don't forget to visit our page Le Vie del Tempo, we're also on Instagram! 

martedì 2 maggio 2017

18th century lower class outfit from Janet Arnold and American Duchess

Hello May, here we are! I have been quite productive in the past weeks, but not so productive as I'd like to be. Recent commissions took me away from personal projects (aka, the red open robe I introduced in the last post) but I could finish a project that took me months to be completed. 

Hands up! 

I finished this blue linen 18th century lower class jacket, plus a brown linen skirt. The fichu, the cap and the stomacher were already done. 
I was inspired by Outlander while making this and the blue linen I had in my stash worked great for the project. I wanted a middle or lower class look, without frills and decorations, so that I could enjoy our outdoor events without getting worried about dirt or ruining the dress. Plus, I needed something practical to wear to sew/embroidery in front of the public.


The jacket has been taken out from "Patterns of Fashion 1" by Janet Arnold with some basic alterations. I raised the waistline to fit my torso and avoided the sturdy interfacing in the front piece. I omitted the winged cuffs for the moment but I'm planning to add them for a fancier touch. 
The whole thing is lined in cotton. The sleeves are lined individually and joined at the armhole. I serged the armhole for a cleaner look.
The jacket fits perfectly at the back and the cotton lining makes it really comfortable on skin. I'm wearing correct underwear underneath (chemise, stays, petticoat and large hip pads).

The stomacher is made of three layers of linen and it's fully boned. I used cable ties for boning the channels instead of reed (which worked great for my pocket hoops!)


The skirts of the jacket have been drafted using American Duchess hacks for Simplicity pattern #8161. I basically designed two rectangles with a center back seam large enough to be pleated at the side and back seams; I knife pleated the skirts at sides and box-pleated at the back. I decided not to line the skirts but I don't know if it was a good decision.


I still have to take decent photos so for the moment, enjoy these shots taken from my Instagram account. 

After looking at several exiting jackets, I decided to use buttons instead of eyelets to close the jacket. My boyfriend was so kind to make historical accurate buttons for me plus some cording loops.
Some examples:


Now the skirt. Nothing new here: two rectangles and a waistband with slits at sides. I used the entire length of my linen fabric (which is large 140) and then I pleated the upper part using knife and box pleats at center front and center back. The skirt ties at waist with two cotton twill ribbons. The hem is entirely hand sewn using an hemming stitch.

And that's all for now! The weather is not good so we can't take shots outside but we managed to record a short video on Instagram! :)


Hope you'll like that! I hope to see some of you on Instagram as well!

domenica 16 aprile 2017

White cotton Directoire dress (1795-1799) part 3: finished and worn!

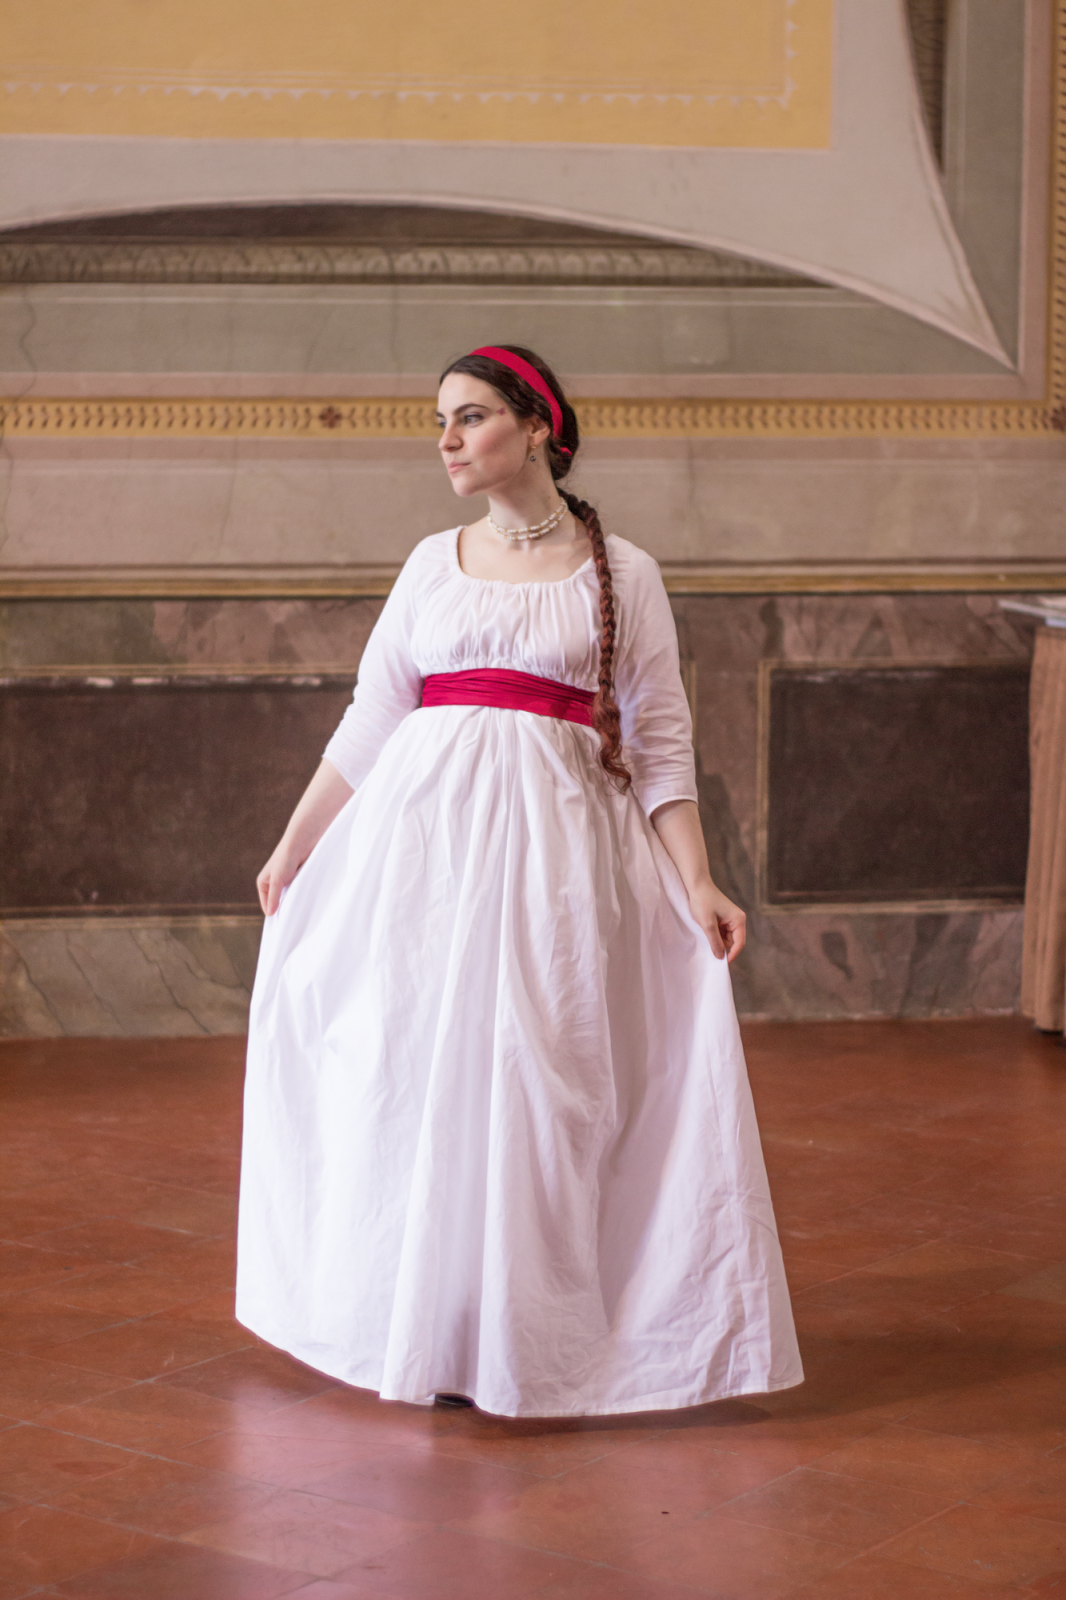
And here we are with the last part of the process, the dress finished and worn. We had a rainy Sunday and we couldn't take better photos but a couple turned out lovely. 

Some words about the finished dress: despite taking accurate measurements, there's a huge gap at the back so excuse me if I didn't take so much photos of the back view. I was wearing accurate underwear (chemise, stays and fichu) but I felt ridiculous. I know it's accurate (drawstring dresses were often borrowed because they could be easily altered to fit different bodies) and no skin is shown, but I have to fix this issue as soon as possible; for the event I relied on my long hair to hide the gap. 

The sleeves are really comfy and so the bodice. Sense and Sensibility pattern worked great for this project! The alterations were minimal but if you're planning to use it for a similar dress I strongly recommend to choose a bigger size (the bigger, the merrier! More gathers!) 

The sash and the hair band are made of burgundy cotton sateen. I'm planning a matching open robe for the next event which will be about fashion and will cover a huge period (1750 until 1825). 

And the photos, at last!


Some shots directly from the event: 


...and a video with the dress in action! 


The beautiful pearl necklace I'm wearing is by Fantasia Trinkets. It's a great addition to most of my historical costumes! Despite the issue with the gap in the back, I'm kinda pleased with this costume. It was fun and easy to make and the thick cotton makes it look more accurate. I also forgot to mention the outer finishing is all hand sewn and the drawstring channels are hand sewn with double thread.

And now, heading to the next project!

domenica 2 aprile 2017

White cotton Directoire dress (1795-1799) part 2

Here we go with the second part of this project. I don't have lot to say about, the project was really simple and quick to be put together (less then a week).
So, after pinning the dress on the dress form to check the fitting I started to construct it. I should have done a bigger size, I admit. There's a nice gap on the back but I'll wear my underwear so...I don't care too much. The bodice could have been more full and gathered, I'll add extra cm next time.

These are the construction steps:

1. I serged the skirt, sleeves and bodice pieces individually. It's not accurate but I need my costumes to last for years and this dress will have an intense use.

2. I assembled the bodice and made a drawstring channel with white bias tape.

3. I attached the sleeves (they're so lovely!) with two small pleats at the back.

4. I opened a slash in the skirt back and made a placket. I love this technique so much!


5. I run some gathering stitches in the upper part on the skirt. I wanted the skirt almost flat and the the back really full and I did it!


6. I stitched the skirt to the bodice and I hand sewn a cotton satin bias tape to make the drawstring channel. I used whip stitches and running stitches with double thread. The bias tape is really smooth and soft to touch.


7. I hemmed the skirt using a slip stitch.This process took a while.

8. My boyfriend made a sash for hair and waist in ruby cotton sateen.

9. Final fitting with chemise and petticoat. I decided to avoid short stays, in pure Merveilleuse style!

 10. And I was done! Photos of the finished thing in the  next post =)

Thanks for reading!

lunedì 27 marzo 2017

White cotton Directoire dress (1795-1800): let's start!

Some weeks ago I announced I was going to make the Danish white chemise dress for my Directoire events in Riva but the amount of custom orders forced me to finish other things before starting to work on my own dress and actually, I'm late. Really late, if you consider the event is this Sunday.
Ok, let's take a breath all together. 

Directoire fashion is a transitional moment. I have seen a great variety of gowns, fabrics and style while looking at the fashion plates of the time and I realized I could easily alter a late chemise à la reine or a very early Regency gown - and so I did. I used a reference this beautiful indian muslin white dress dating to 1796 as reference (but without the embroidery and the long sleeves).


Other references...

1797 - The Duchess of Osuna, her daughter and granddaughter (Agustín Esteve y Marqués)

1795 - The Duchess of Alba (Francisco de Goya y Lucientes)

Gaspare Landi (1756-1830) Ritratto di gentildonna.

These dresses feature the new, stylish high waistline with gathered neckline but the fitted elbow sleeves so typical throughout 18th century and so I decided to make elbow sleeves as well.

Construction:

I didn't took photos of the cutting process but I can say I used the bodice pattern of the drawstring gown by Sense and Sensibility "Portrait dress" pattern. It worked beautifully! I just raised the waistline to fit my underbust and the rest has been left unvaried. The back of this dress is fitted so the drawstring will run just in the front of the neckline. The waist will have drawstring too so the back of the dress will remain open a little. I don't worry about the gap, first because I'll wear proper underwear and second because I'll leave my hair down... ah, the beauty of Directoire fashion... :)
I forgot to say the fabric is white cotton cretonne I got from a massive sale on Tessuti.com at half of the price. Yay! I won't line the bodice to have a light, soft, summer dress. A proper open robe will be made in the next months.

I cut two simple rectangles to make the skirt, which is approx. 150 cm wide and long enough to reach my feet.
The mock up on the dress form:

Un post condiviso da Il Fiore Nero (Danielle Fiore) (@ilfiorenero_handmade) in data:


The sleeves are from the same pattern. Since I 'm out of time the inside of the dress is machine made and serged to last but the outer finishing will be made by hand, of course.
And that's all for now! I will publish some updates this week =)<

martedì 7 marzo 2017

A Regency crossover gown

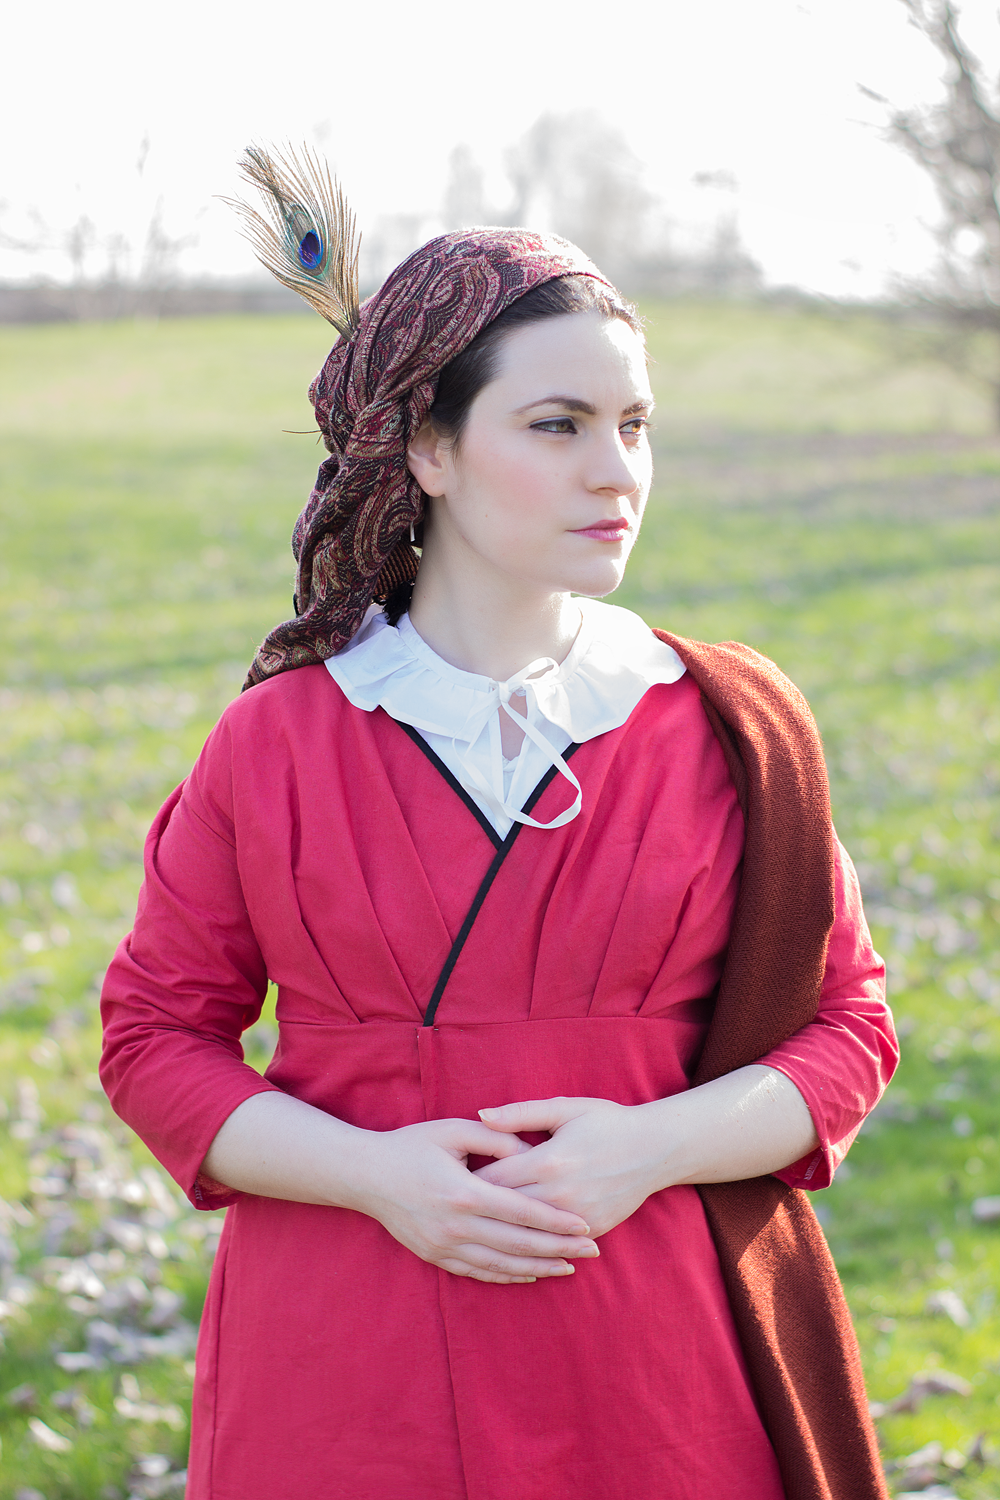
Last month I started to use the S&S patterns my bf gifted me at Christmas and with an incoming event approaching, I decided to make a new dress using some old Ikea fabric in my stash. I really liked the idea of a crossover/wrap gown, definitely different from my other drawstring dresses. I loved the fact to have a front opening dress with pleats at the front, definitely something eye-catching. So I went for "The Elegant Lady's closet" pattern.

Before proceeding with the post, I'd like to say something to beginners. The instructions for this pattern are not so simple as they seem. The bodice calls for a separate lining (not the easiest thing to understand for people not involved in historical costuming...), an extra skirt layer (the easiest addition), dropped shoulders with sleeves set in the back. Trust me, these are not so immediate steps for a beginner. I would recommend to avoid the separate lining and proceed with a basic one (so using the front pieces of the bodice as guide) and to do a mock up of the sleeves before cutting the final fabric. I basted, stitched, ripped  the sleeves various times before getting a clear idea of where they have to sit - especially for the seam. Where's the seam? At the side? At the back? At the front, as in 18th century? A mystery. I placed my seam on front but I'm really not happy. 
Mark everything when transferring the pattern onto the fabric and things should go easily. I also recommend to add the extra skirt layer on the front to avoid a gap while sitting or moving; you should obviously wearing a petticoat underneath but a white gap in a coloured dress (like mine) it's not so fashionable so why make economy for a extra yard of fabric only?
I also avoided the self fabric binding, binding the upper edges with black bias tape to create some contrast. I have seen something similar in a fashion plate of the time.
The skirts are put together using french seams, while the upper edges have been serged. Every hem and the binding is hand sewn. 

Despite these things, the pattern is really easy to put follow. At first I wanted to gather my front pieces but I realized it would have been really bulky so I followed the instructions making the pleats. Much better! My dress closes from left to right, I founded it easier being left-handed. It closes with a pin at the front but I will add some hooks and eyes for more support. 
The back fits tight so measure yourself carefully before cutting the fabric. Chemise, stays and petticoat add some cm to your measurements. 

I matched the dress with the brand new chemisette I made always from S&S and the outfit was so cute! Unfortunately we didn't took many photos during the event due to the bad light but we'll take new shots in two weeks when we'll be again in Stupinigi!
Some photos on the dress form directly from my Etsy shop:


Post in evidenza

Edwardian skirt and blouse, circa 1900-1905

I've always been fascinated by the style of early Edwardian era, with those lightweight blouses, fabrics, delicate laces and floating s...